2 minutes
Organizing the homelab
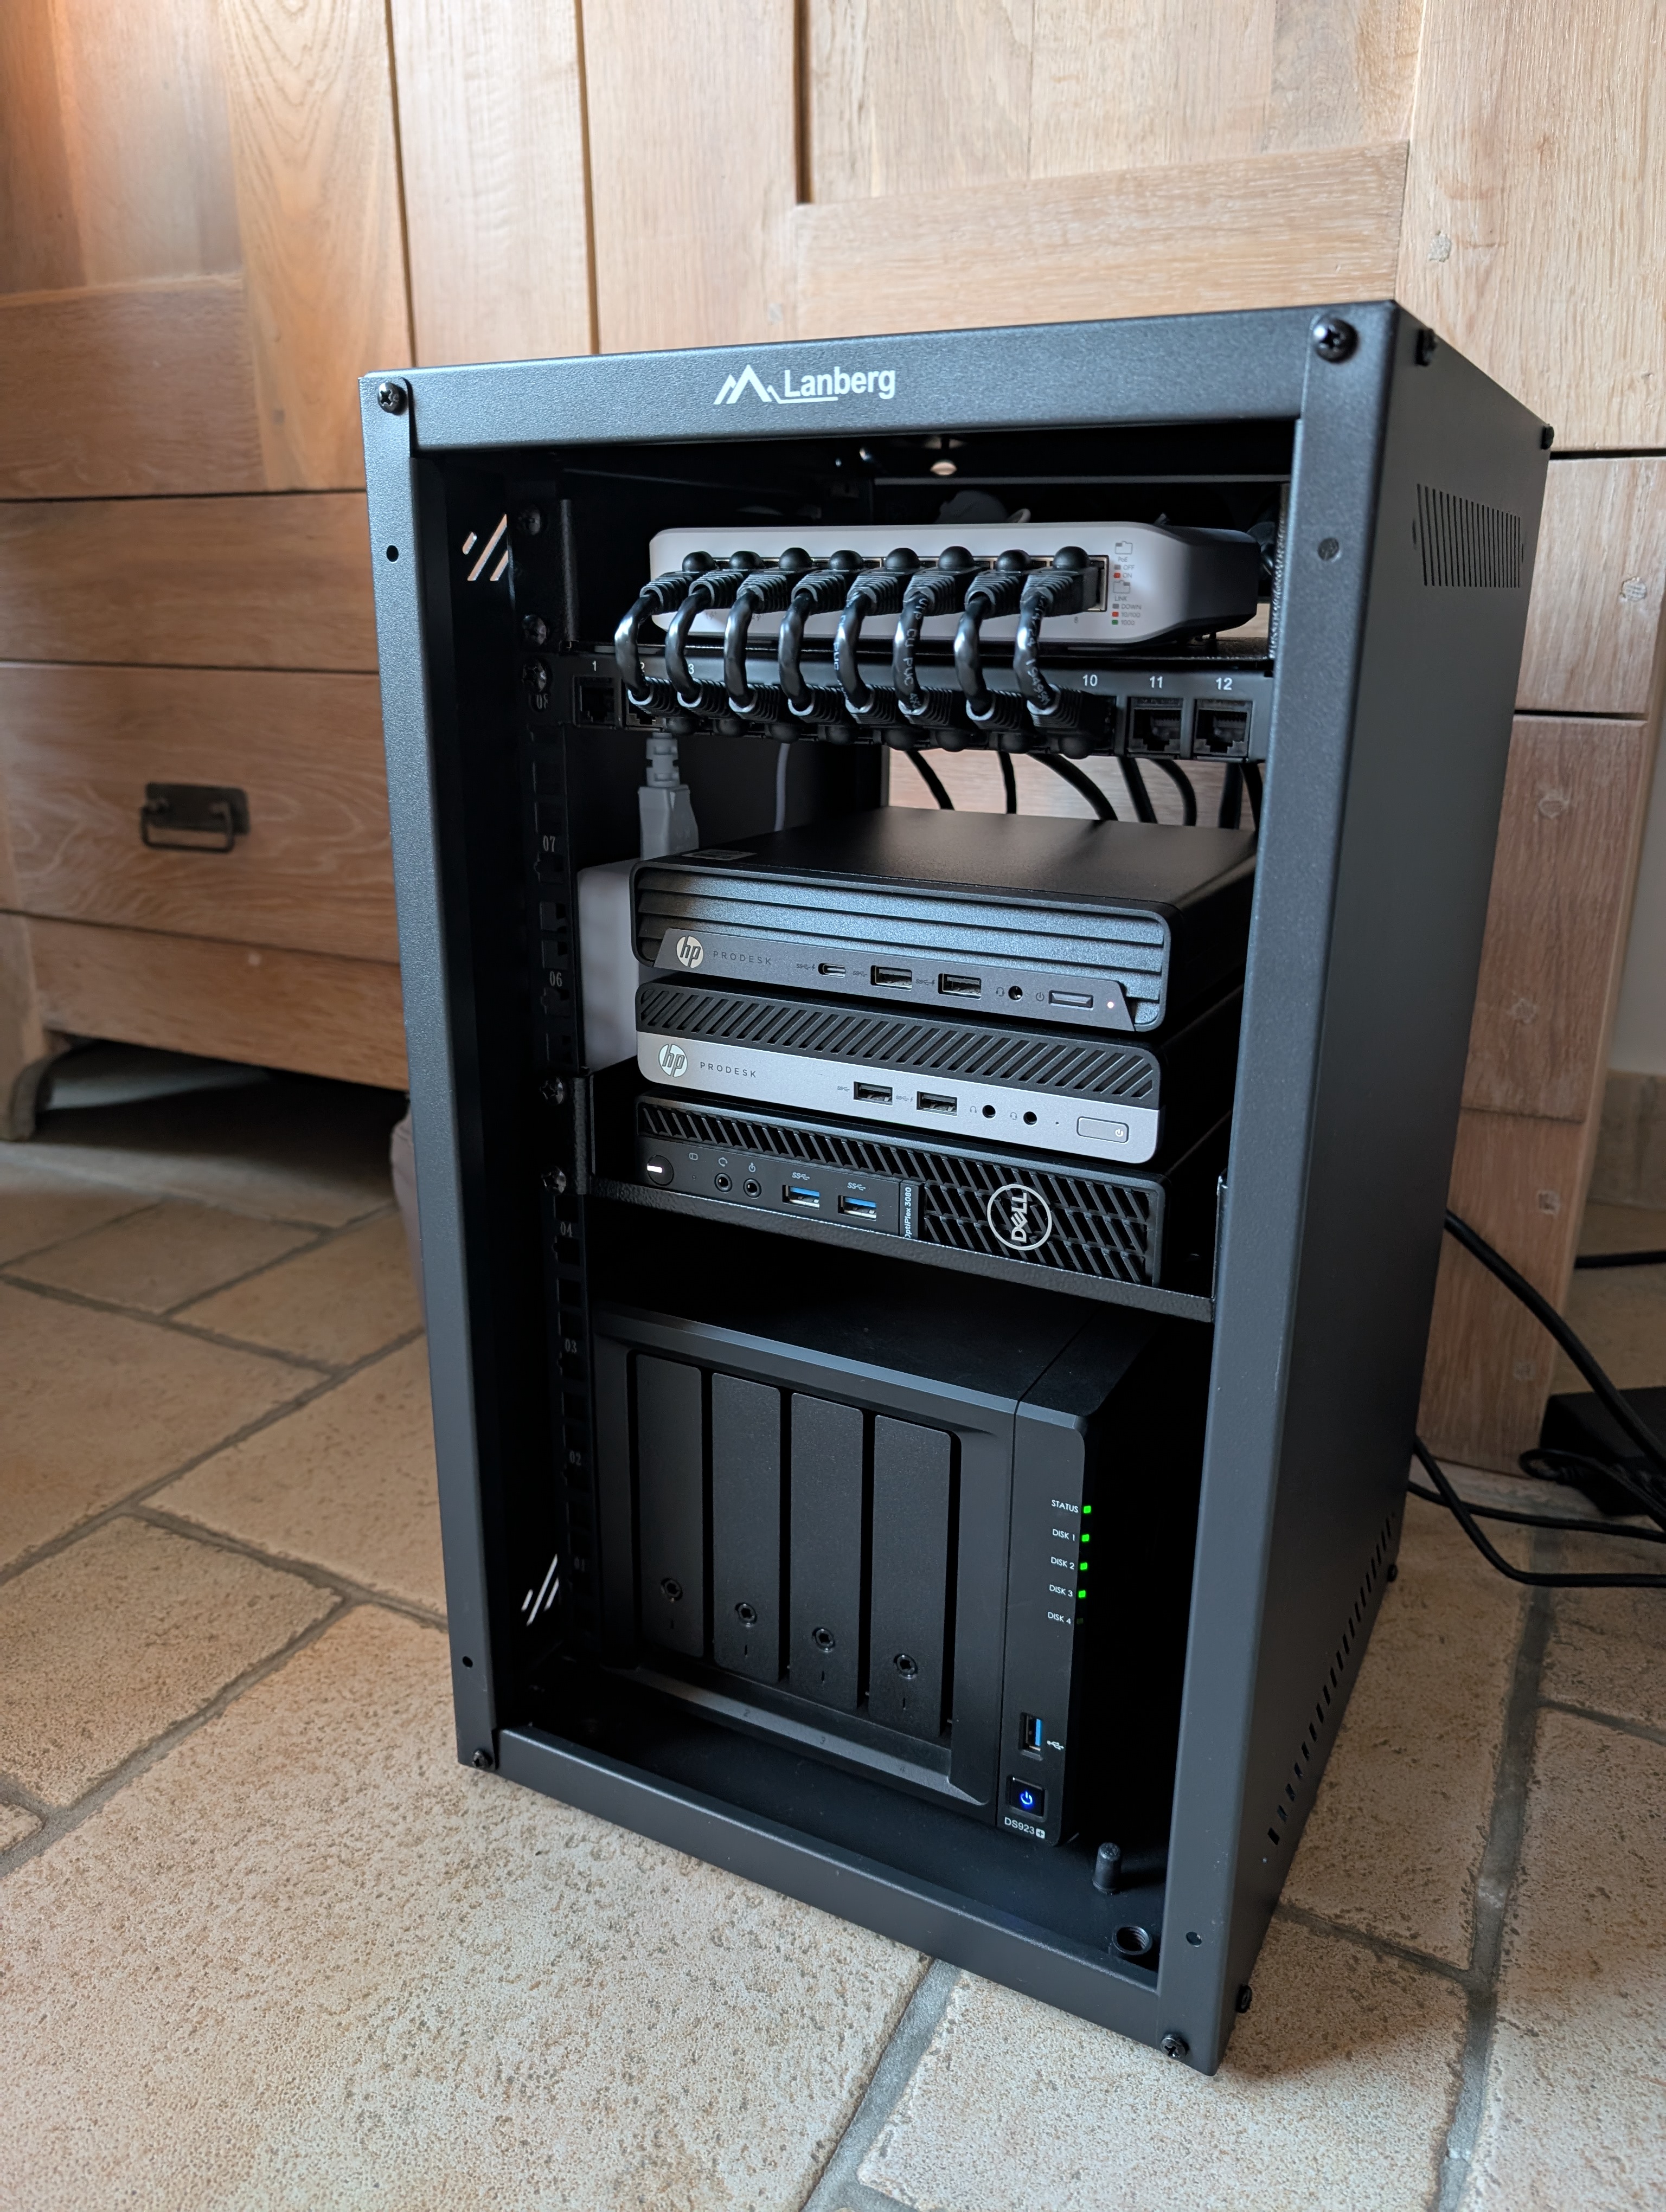
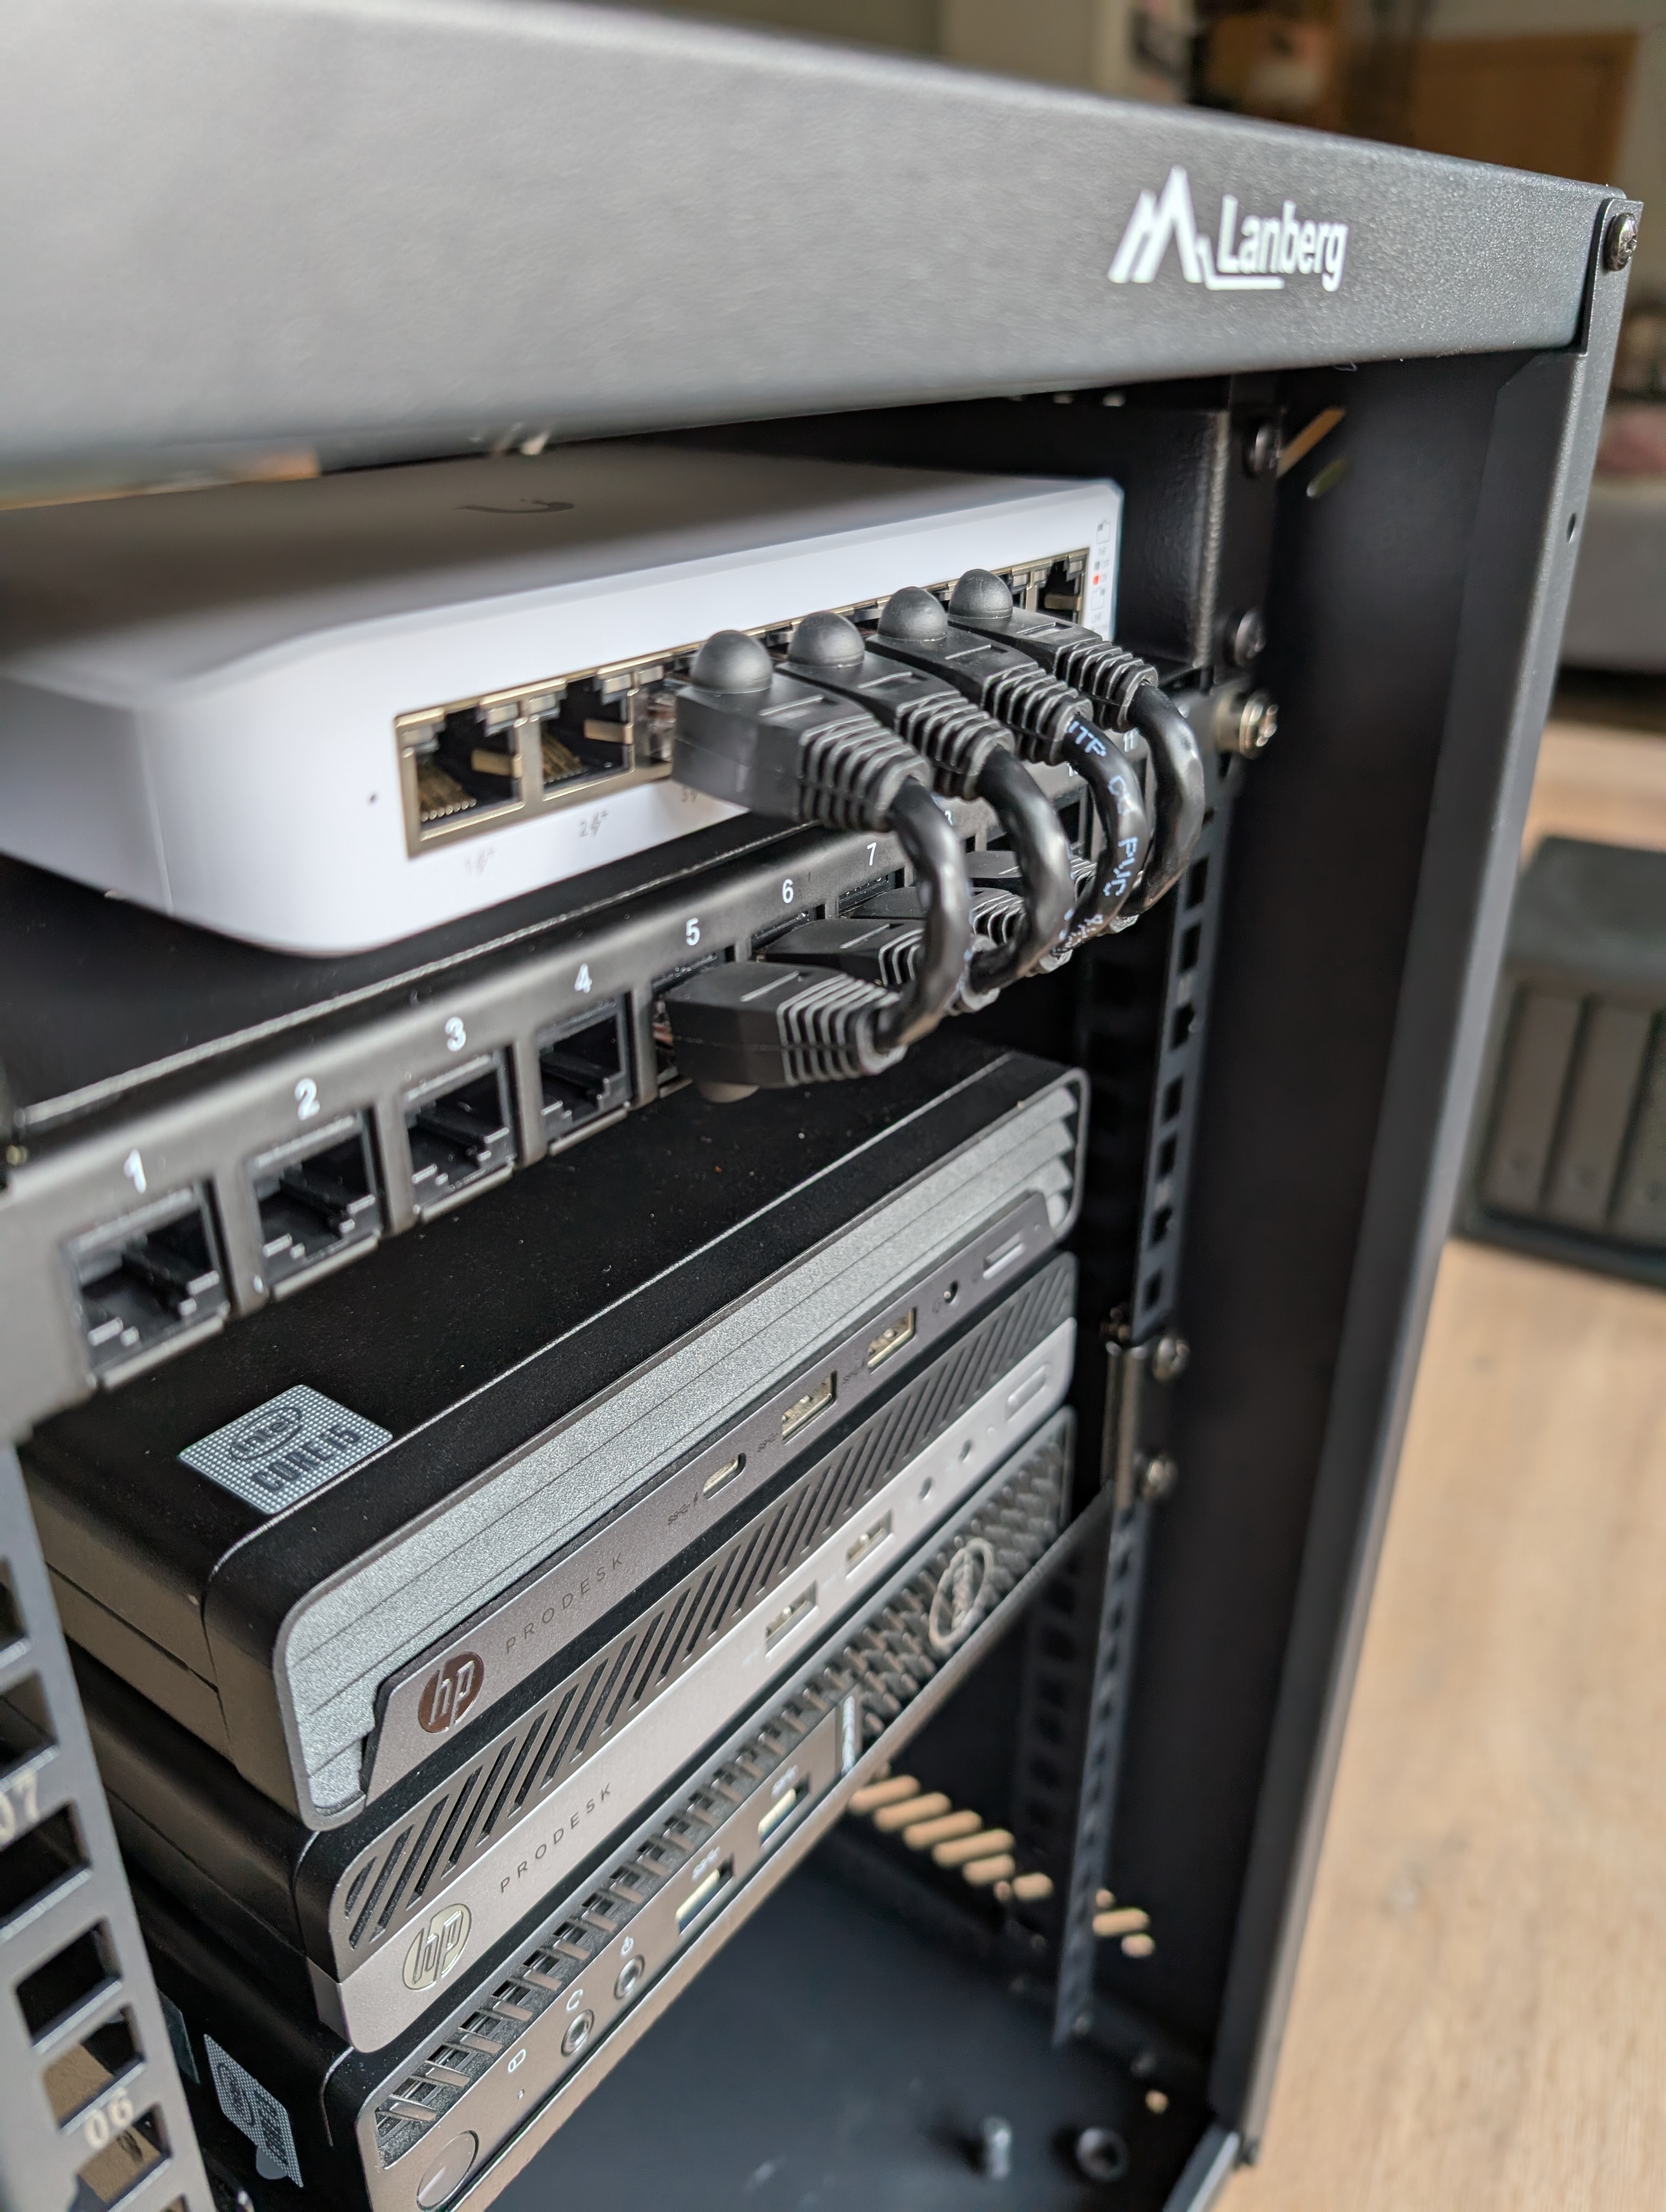
After building my homelab from the ground up on the software side, I decided it was time to finally restructure and organize the hardware side. Until now, I had been hosting everything on different nodes scattered around the house, and it was becoming a hassle to manage. What better way to fix this than by organizing everything inside a proper server rack?
Initial draft
Before diving into the build, I wanted to make sure I did it right. That meant carefully planning everything—components, ports, measurements—to ensure I could fit everything neatly into a single server rack without it being too large for my space. I settled on a 9U case, which provided plenty of room for my existing devices while also allowing for future expansion.

Components
After creating my draft, I could go and find all of the components I needed. I took a lot of inspiration from Jeff Geerling’s minilab github repo which focusses on building small but powerfull server racks.
Server rack
- Lanberg Rack 9U 10"
- HMF black Cage Nuts
- GeeekPi DeskPi patchpanel
- Digitus 1U 10" shelf (200mm)
- Digitus 1U 10" shelf (254mm)
- Digitus DN-95418 4-way power strip
Networking
Hardware
- HP Prodesk Mini
- i5-10400T
- 40GB RAM
- HP Prodesk Mini
- i3-10105T
- 32GB RAM
- Dell Optiplex 3080 micro
- i5-7500T
- 32GB RAM
- Synology NAS - DS923+
- 3x 4TB Seagate IronWolf NAS HDD -> running in SHR
- Raspberry Pi 4
- Raspberry Pi 3B
Creating small UTP cables
I wanted the cables running from the switch to the patch panel in the rack to be as short as possible for a clean and organized look. However, the shortest pre-made cables I could find online were 15cm, which was still longer than I preferred. So, I decided to make my own. It took a few tries to get back into the rhythm of crimping and testing, but in the end, everything turned out great.
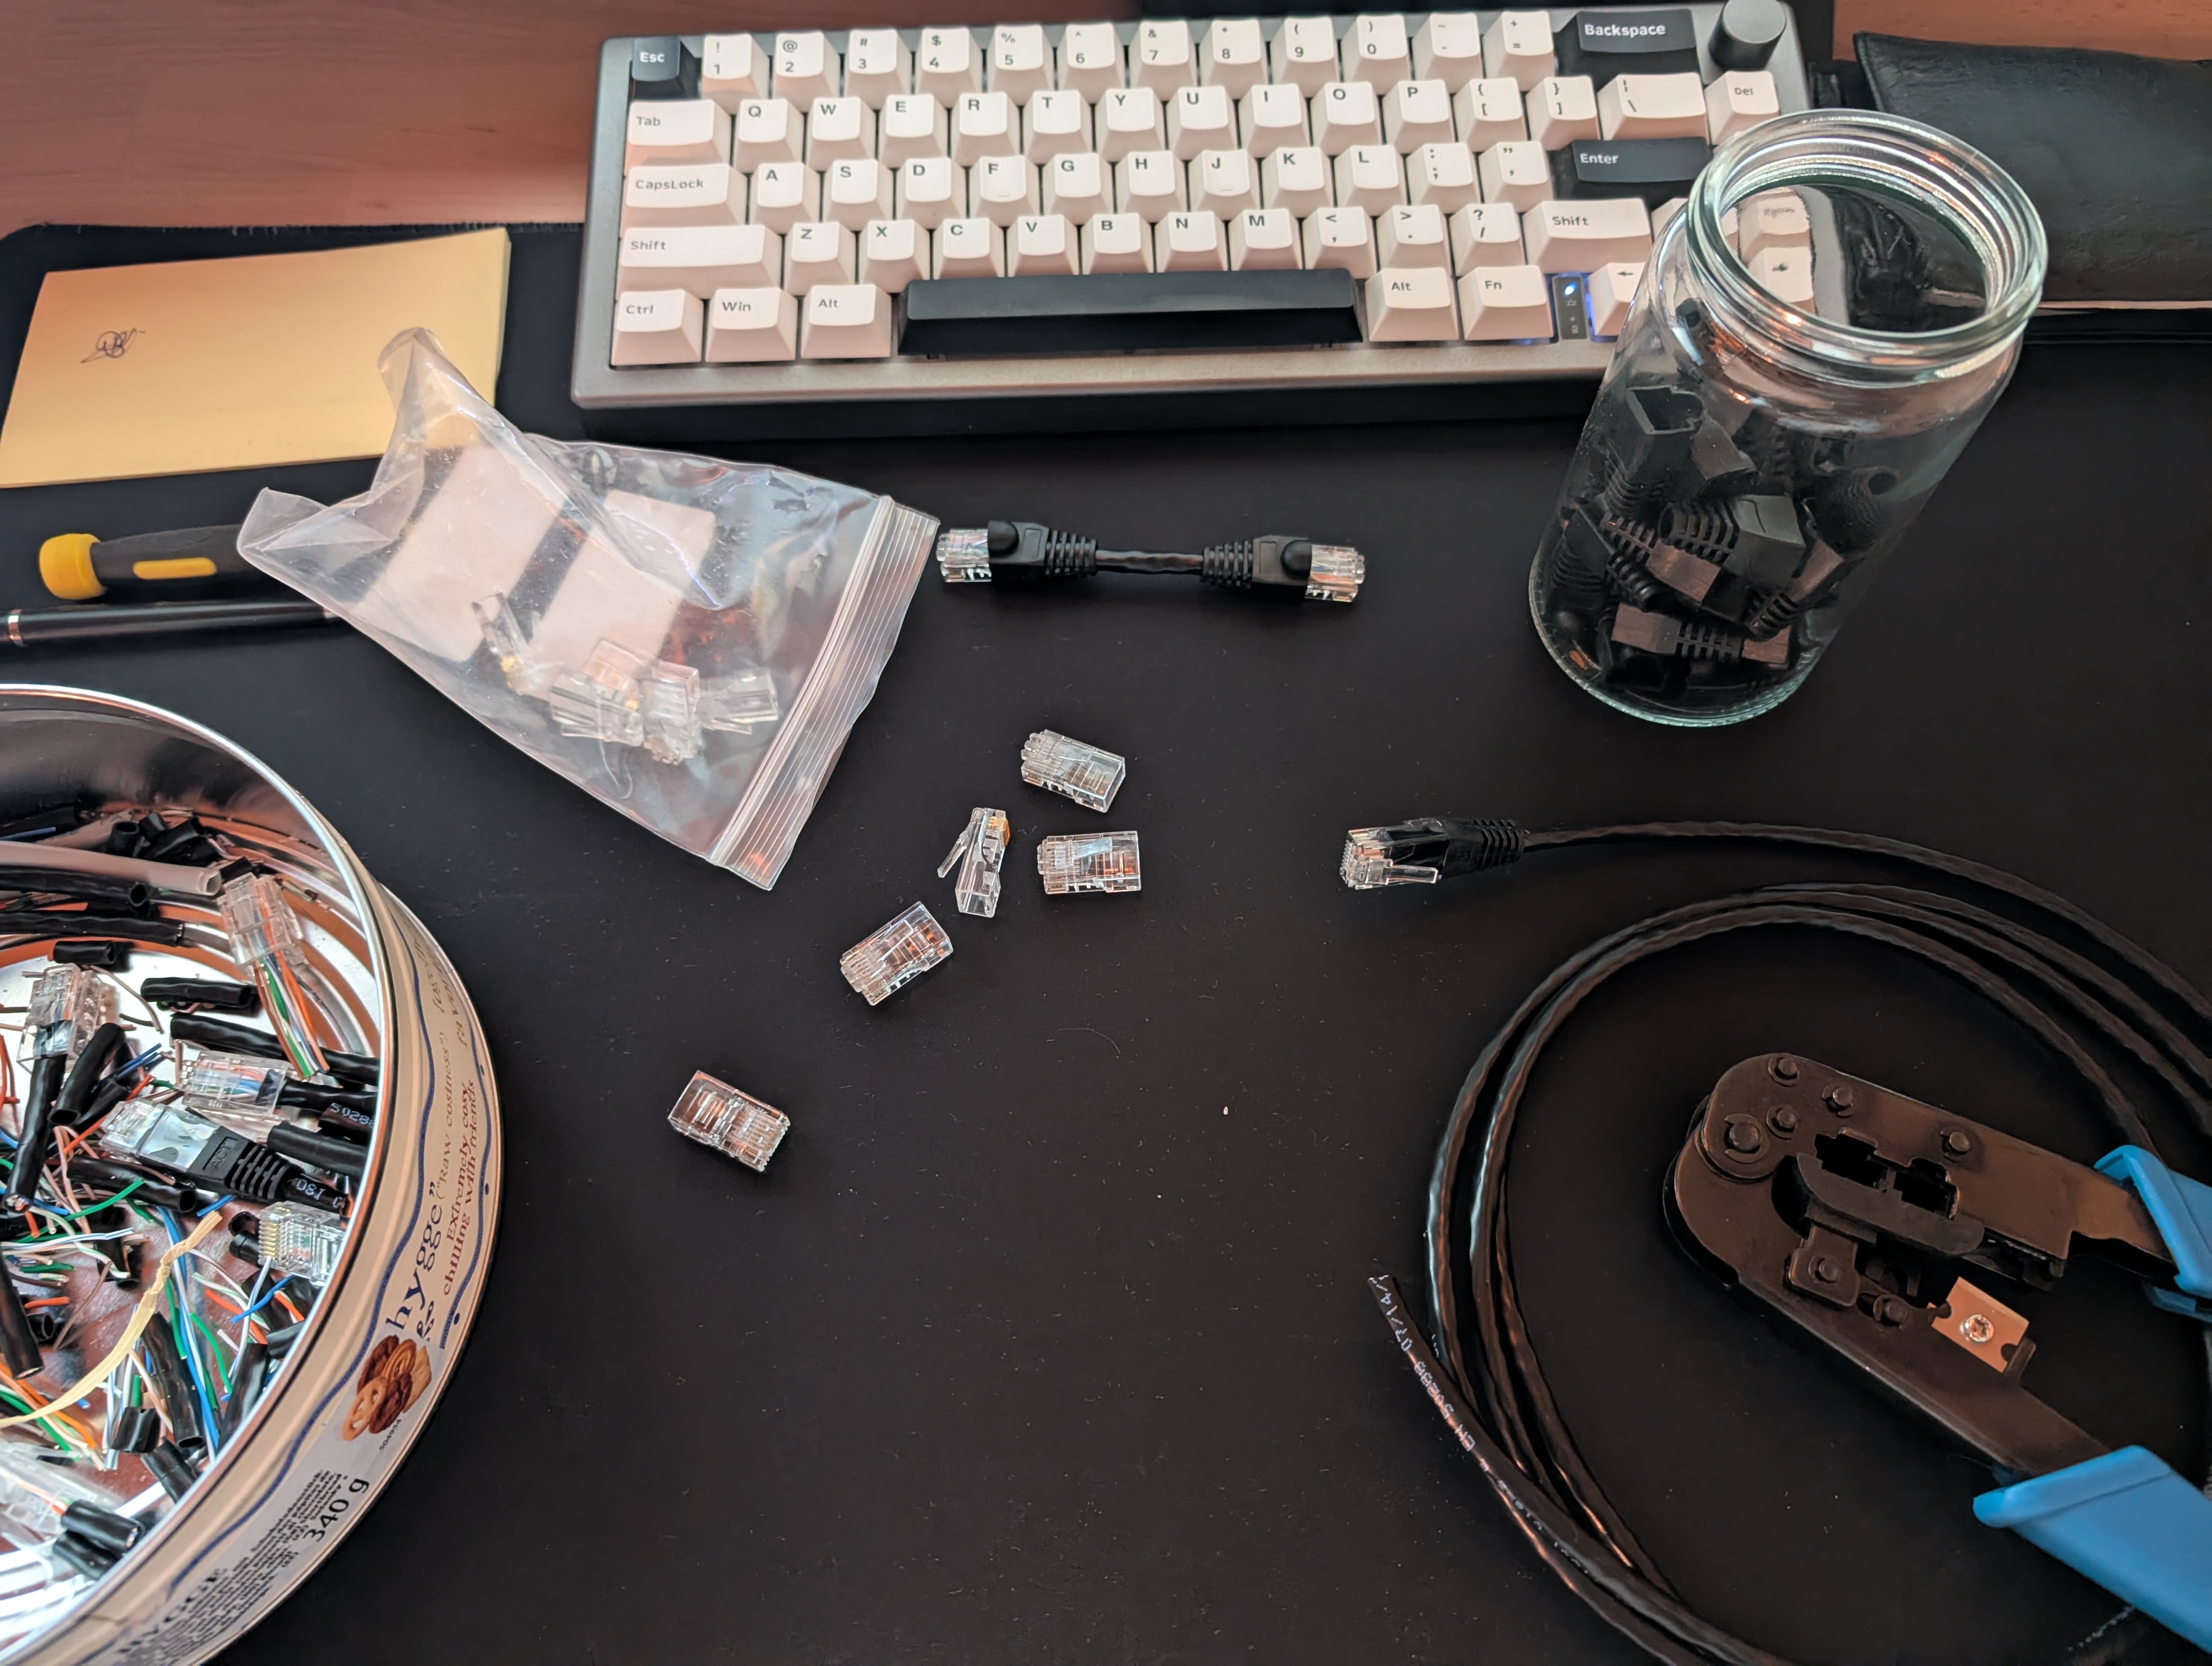
Very happy with the outcome!